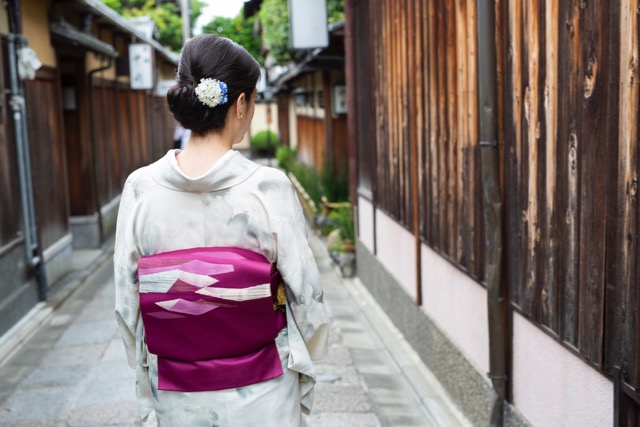
At any site in Kyoto, you’ll see dozens of kimono-clad tourists. I thought it would be fun to join them and have a few photos taken!
Step one is choosing the kimono and obi. Though the shop had racks and racks of options, it turned out that only a few were long enough for me – apparently I am considered tall in the world of vintage kimono. I settled on a kimono in subtle shades of grey and blue in a gorgeous thick silk, a dark fuschia obi, and an olive-gold silk cord to tie the obi.
Step two is being dressed. The best way I can describe the feeling is like a cross between a doll and a puffy sleeping bag that needs to be trussed up. There are various white cotton underlayers, interspersed with ties and thin towels and a sort of curved fabric and plastic plaque that goes over the stomach to create a flat base for the obi. Each of these is layered and pulled tight and tied. Finally the kimono goes on, with much tweaking and clipping and more tying, then the obi and even more sashes and cords (both hidden and decorative).
My dresser checked how I was doing and I inquired (mostly through gestures) about loosening things a bit. Despite our language barrier she made it quite clear that wasn’t going to happen – anything looser would not look good. I would have sighed if I could have and resigned myself to a few hours without a deep breath. It’s worth noting, though, that the kimono turned out easier to wear than I’d initially guessed – after a short time, I hardly noticed it and felt pretty comfortable.
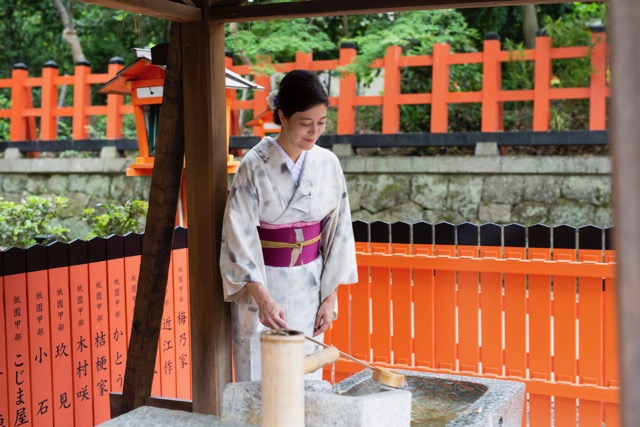
Step three is heading out for photos! The shop arranged a great photographer who met me a short distance away (it was an interesting experience to walk solo along a Kyoto main street dressed in kimono and traditional zori sandals – no one really batted an eye!), and we walked together through Kyoto to take a variety of shots.
*
This wasn’t the only time I wore a kimono on this trip! On another day, we went to WAK (Women’s Association of Kyoto) for an ikebana class with bonus kimono for me. I highly recommend WAK – they have a range of English-speaking experiences to choose from and the ladies who run them are absolutely delightful.
Our class began with the selection and contemplation of our flowers. Then we watched our instructor demonstrate an arrangement as she explained some of the basic guidelines of the art: rules of thumb on height (the tallest, main element should be ~2.5x the diameter of the base, the second element should be about 2/3 of that), how to properly cut the stems (underwater, at an angle), etc.
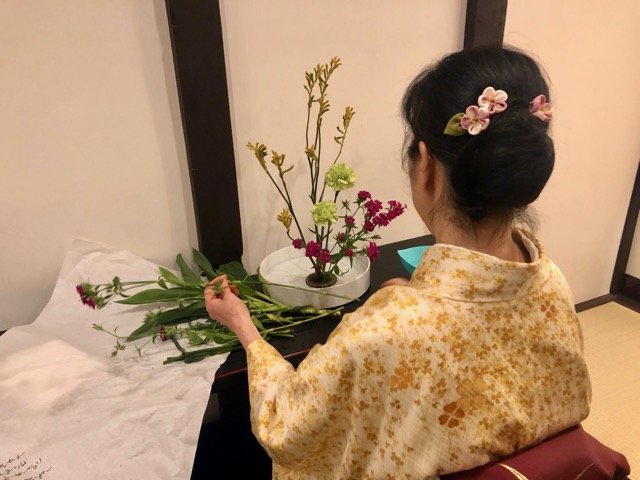
What I liked best about her instruction was her encouragement for us to let the flowers “speak” to us and to be contemplative and creative, rather than following rules. After she finished her arrangement, it was our turn.
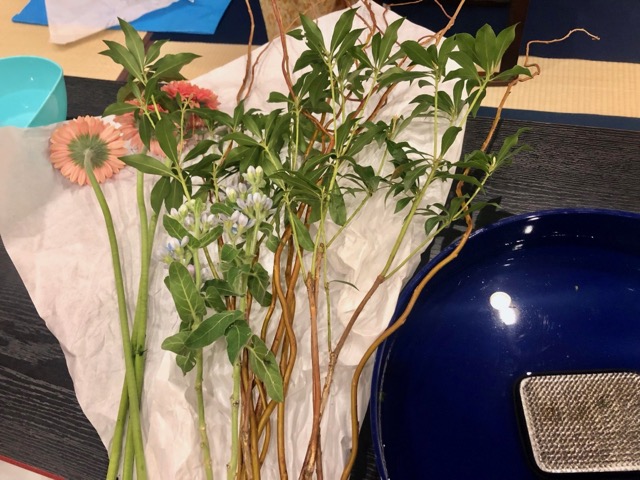
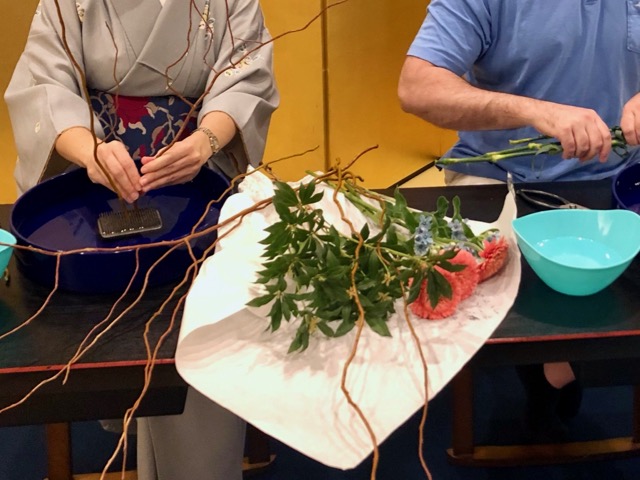
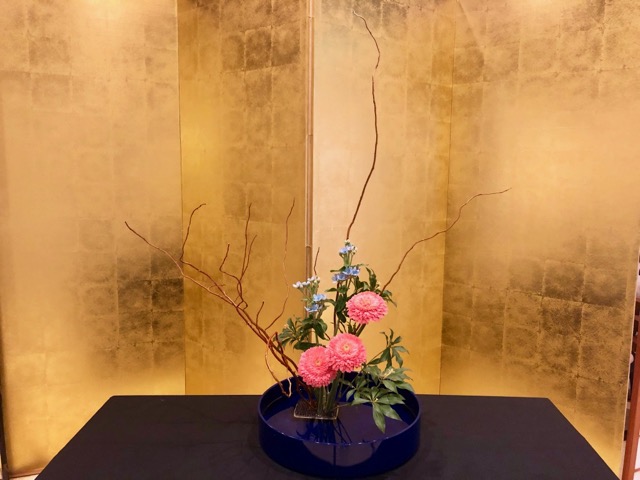
Here is my finished arrangement!
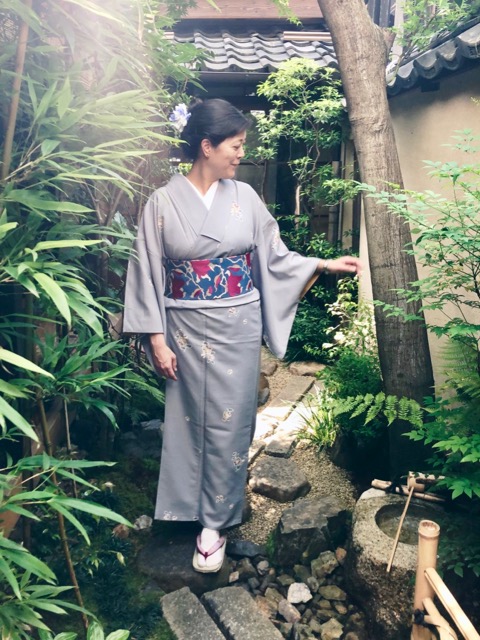
I also got to dress in kimono – WAK has a good selection and the ladies were happy to let us take photos in their courtyard garden, pointing out the best places to stand and and generally having fun commenting on my poses and D’s photos. Apparently I was deemed sufficiently coordinated to wear my kimono during ikebana – often, they said, the sleeves get in the way.
I’ll take that as a compliment! Maybe there will be more kimonos in my future…
***
Note: There are a ton of kimono rental shops in Kyoto, many of which seem more mass-market/ assembly line places with polyester kimonos. I spent some time searching for a place with higher quality, silk kimono options and found kyotemari, which I was happy with overall. They made all the arrangements for a very good photographer and the photos came promptly, though my dresser had limited English (enough to get by) and, as mentioned, the options were somewhat limited by my height.
 HaiSous, Chicago
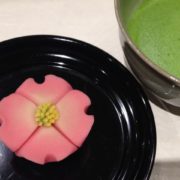 Wagashi at Tokyo Mise (Tsuruya Yoshinobu)
 Beast & Bottle and Aviano Coffee, Denver
 Al fresco dinner at Angèle, Napa CA
Thrilling to see you dressed and looking so beautiful and serene. Another excellent article. Thanks o