It’s been a long time in the making, but I can finally report back on Project Jellies.
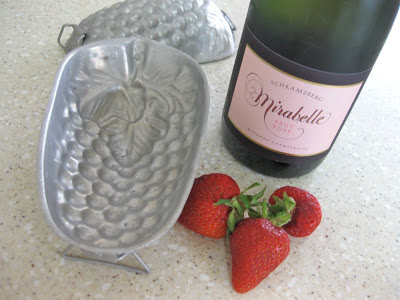
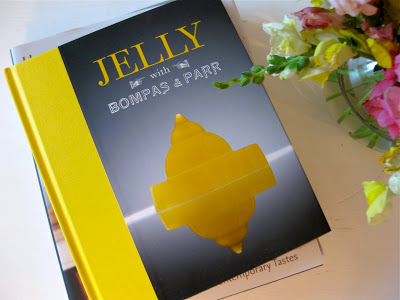
It all started when I saw a pair of British fellows on TV demonstrating their fancy jellies – tall, colorful, made with fresh fruit and even champagne. I promptly bought the book (I chose the British version, which has a far more tasteful cover than the American edition), sourced the right kind of leaf gelatin from a baking supply website, and undertook a search for antique jelly molds. When I found some nice grape molds at the Oxbow Market in Napa, I knew I was ready to get started.
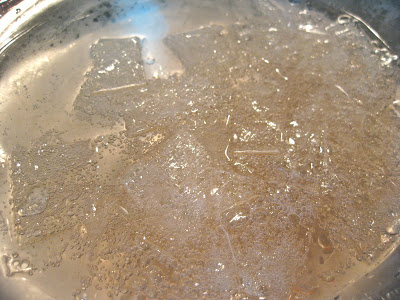
My plan was to make a champagne jelly with strawberries, plus a simple lemon jelly (actually a mix of lemon and orange juices). The recipes in the book seem straightforward – first, make the appropriate liquid mixture, then cut up five leaves of gelatin and soften them for ten minutes or so in some of the liquid. It all goes over a double boiler with more of the liquid, to fully dissolve the gelatin, before the rest of the liquid is added and it’s all poured through a sieve into the appropriate mold. After six hours or so in the fridge, the jelly is ready to unmold and eat!
Unfortunately, I ran into a few unexpected complications in my first attempt:
- Spilled sugar onto floor while weighing it (due to British-version recipe calling for grams)
- Discovered that pouring warm champagne/gelatin mixture into cold champagne causes an enormous, volcano-like reaction that overflows all over the counter and floor
- Got sugar stuck to feet due to combination of the prior two mishaps
- Tipped over partially-filled mold, spilling warm jelly mixture (in my defense, the grape molds were a little rickety)
I eventually got the jellies safely into the fridge. After six hours (during which I poked the jellies every 30 minutes to see if they were ready yet), it was time to unmold.
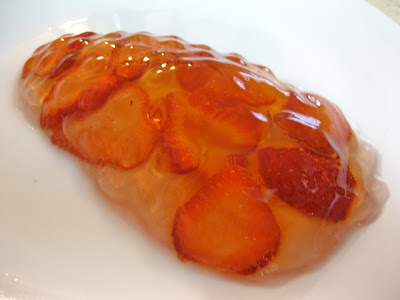
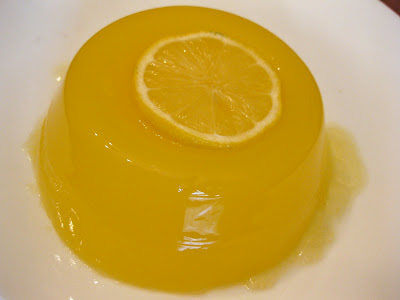
This process went without a hitch, and I ended up with two perfectly formed jellies. They were beautiful to behold, and wonderfully jiggly.
But this isn’t the end of the story, because with the first bite of the champagne jelly, everyone (including me) made faces. Apparently my decision to reduce the sugar had not resulted in sophisticated flavor as I’d hoped, but rather in a tooth-melting bitter sourness. The lemon jelly was sweet and intensely flavored, though, and received positive reviews despite having been molded in a plastic crabmeat container.
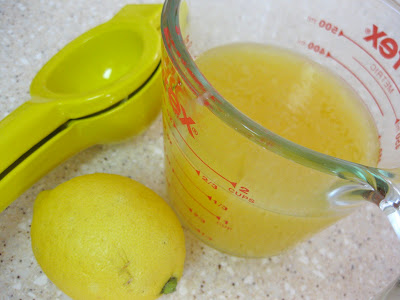
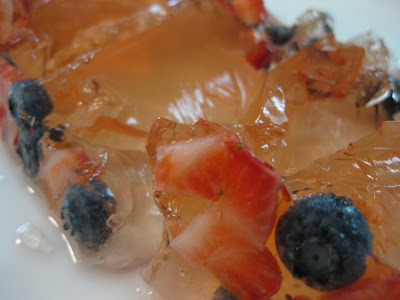
The next day, I returned to the kitchen with renewed determination for a second attempt. This time, I added lots of sugar to the champagne, and poured the warm mixture into a 4 cup measure with plenty of extra room – no overflow. I switched from my grape mold to a tall sour cream container for the champagne jelly, in the hopes of attaining more impressive height, and added a mix of blueberries and strawberries. And I tweaked the ingredients in the lemon jelly to make it slightly more tart.
Sadly, the champagne jelly lost its structural integrity upon unmolding, so it had to be served in a somewhat undignified manner. But it was well received, better than last time at least – though there were still a few comments that I was on the right track and “next time” would be better. (Oh well!) The lemon jelly was good once again; some preferred the sweeter first version, while others preferred the more tart version.
A note on molds – the best one turned out to be the 2 cup plastic crabmeat container I used for the lemon jelly (very well washed, of course). It was about as tall as it was wide, which made the resulting jellies both stable and nicely jiggly. Any similar 2 cup plastic container would work well. Metal molds are also a nice option. Avoid glass molds, though, since they don’t transfer heat well and it’s difficult to get the jellies to release as a result.
Project Jellies reminded me a bit of a science project – a fun and (mostly) edible one. Next time I’m thinking of trying a blueberry jelly, or maybe a Campari and orange “jelly bombe”…
Lemon jelly
Sweeter version
100 mL lemon juice
150 mL orange juice
250 mL sugar syrup (1 cup water + 1/4 cup sugar)
5 leaves of gelatin
Tart version
150 mL lemon juice
200 mL orange juice
150 mL sugar syrup
5 leaves of gelatin
Combine liquid ingredients and set aside. Cut up gelatin and place in a heatproof bowl; pour in enough liquid to cover and let soften for 10 minutes.
Set bowl over a pan of simmering water (forming a double boiler) and let gelatin melt. This will take 5 or 10 minutes. Add the rest of the juice mixture and stir to combine.
Pour through a sieve into your mold. Refrigerate until set, about 6 hours.
To unmold, dip mold into hot water for a few seconds until jelly is loosened, then set a plate (upside down) over it. Turn over the whole thing, so that jelly is released onto the plate.
Garnish with a thin lemon slice, if desired. Serve immediately.
Champagne jelly with berries
500 mL Champagne
40 g sugar (1/4 cup less 2 tsp)
Squeeze of lemon juice
5 leaves of gelatin
Cut up gelatin and place in heatproof bowl. Add 100 mL Champagne to cover, and leave to soften for 10 minutes.
Set bowl over a pan of simmering water (forming a double boiler) and let gelatin melt. Once melted, stir in sugar until dissolved and then add another 100 mL of Champagne.
Carefully pour Champagne and gelatin mixture through a sieve into a 4 cup measuring cup with 250 mL of Champagne in it. (Caution – this will bubble up quite a bit!) Squeeze lemon juice through the sieve as well. Add more Champagne if needed, until the total volume is 500 mL.
To make this fancier, add a handful of berries to the bottom of the mold, and pour in enough jelly mixture to cover. Leave in the refrigerator for a few hours, until firm, then add more berries and the rest of the jelly mixture. This will result in two layers of berries. A simpler version results from pouring all the jelly mixture into the mold at once with the berries – they will all float to the same level.
Unmold in the manner described above. Serve immediately.
Adapted from Jelly with Bompas and Parr
 Dark chocolate crackle cookies
 Lemon meringue pie
 Chocolate cherry oatmeal pecan cookies
 “Mi cuit” chocolate cakes
LOVE THE VIDEO