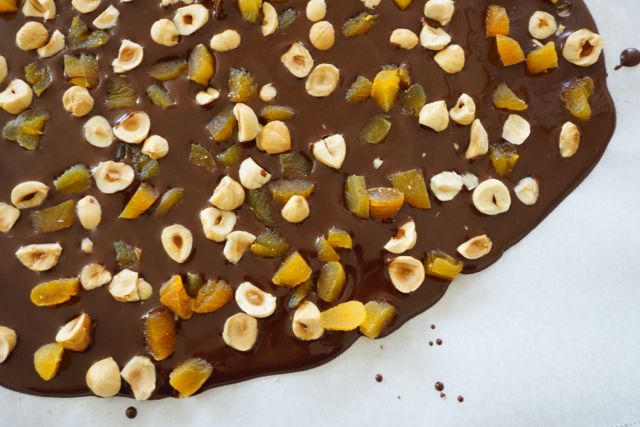
Whenever I’m in Texas for New Year’s, I like to come up with a few cooking projects. This time I thought it would be fun to make chocolate bark.
After all, my mother and stepfather love chocolate as much as I do!
I used 70% dark chocolate, but any kind would do – you could even swirl milk chocolate into dark or white chocolate into milk. The key is to temper it, so that it cools hard and shiny, with a crisp snap.
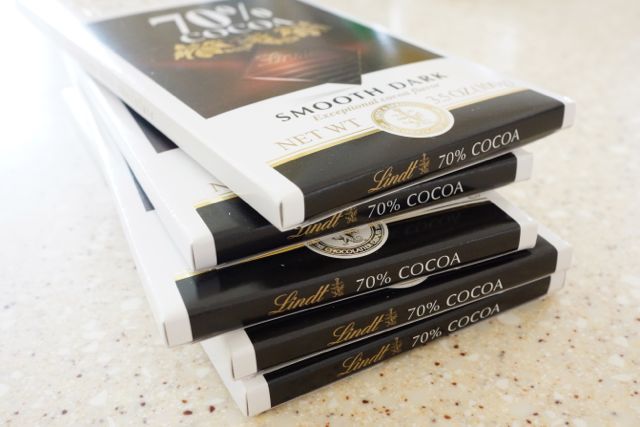
This was my first attempt at tempering, and it didn’t turn out exactly right – the texture was good but the surface wasn’t shiny enough. There are all kinds of articles online with “foolproof” methods, so I’ll have to read up on them a bit more… (Here are David Leibovitz and Serious Eats.) One thing to note, you’ll definitely want an instant read thermometer!
Once you’re past the tempering, it’s time for the fun part of making chocolate bark: choosing the toppings!
The sky’s the limit, really, in terms of what might work, anything from crushed peppermints for the holidays to crystalized ginger or macadamia nuts for a touch of the exotic.
I chose dried fruits and nuts – apricot with toasted hazelnuts, and cherries with salted pistachios.
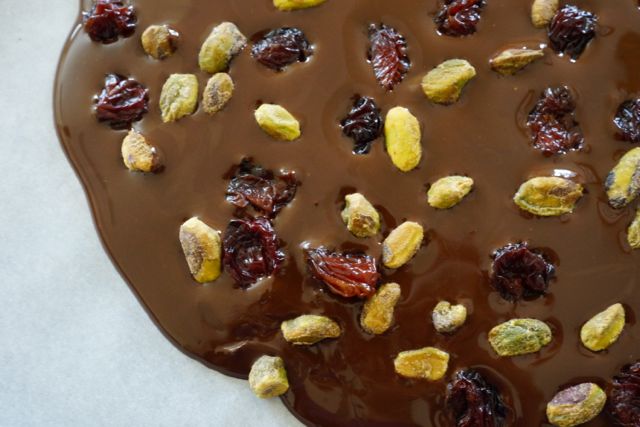
Take my word for it, add more toppings than you might think – that’s the whole point of chocolate bark, after all – and get them right to the edge.
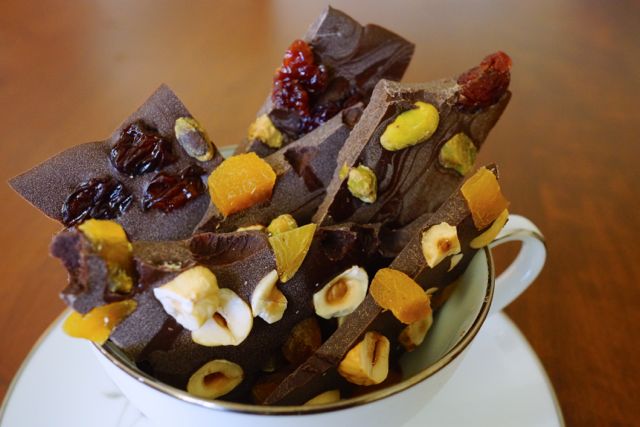
Both versions we made were good, but based on which one we were reaching for the most, I think the winner was the apricot and hazelnut. There’s something about the velvety, sweet-tart fruit and the toasty, crunchy nuts that really works with dark chocolate.
One word of warning – it’s addictive!
***
Chocolate bark
5 3.5 oz bars of 70% chocolate
1/3 cup hazelnuts, chopped
14 dried apricots, chopped
1/3 cup salted pistachios
1/3 cup dried cherries
Draw 9×5 inch rectangles with a pencil on each of two pieces of parchment paper. Flip over and place on baking sheets.
Finely chop one and a half bars of the chocolate and set aside. Melt the remaining chocolate in a double boiler to about 115 degrees. Stirring constantly, add the chopped chocolate gradually and continue stirring until completely melted and temperature reaches 90 degrees.
Pour the chocolate onto the prepared parchment, roughly following the rectangles (it’s ok if the chocolate extends beyond the outlines). Distribute toppings as evenly as possible.
Set aside in a cool room to set for an hour or two. Once hardened, break apart (or cut) into pieces.
If the weather is warm, may want to store in the fridge… if it lasts that long!
 Terre Adélice: Ice cream in Lyon
 Bernachon chocolate, Lyon France
 Crêpes Suzette à la Jen
 Berry pavlovas